Blender is a free and open-source 3D computer graphics software toolset used for creating animated films, visual effects, art, 3D-printed models, motion graphics, interactive 3D applications, virtual reality, and, formerly, video games.
It is a tutorial to teach you how to create mesh by Blender-Python.
First of all, to be able to use the Blender-Python API, you need to import the bpy library.
1
import bpy
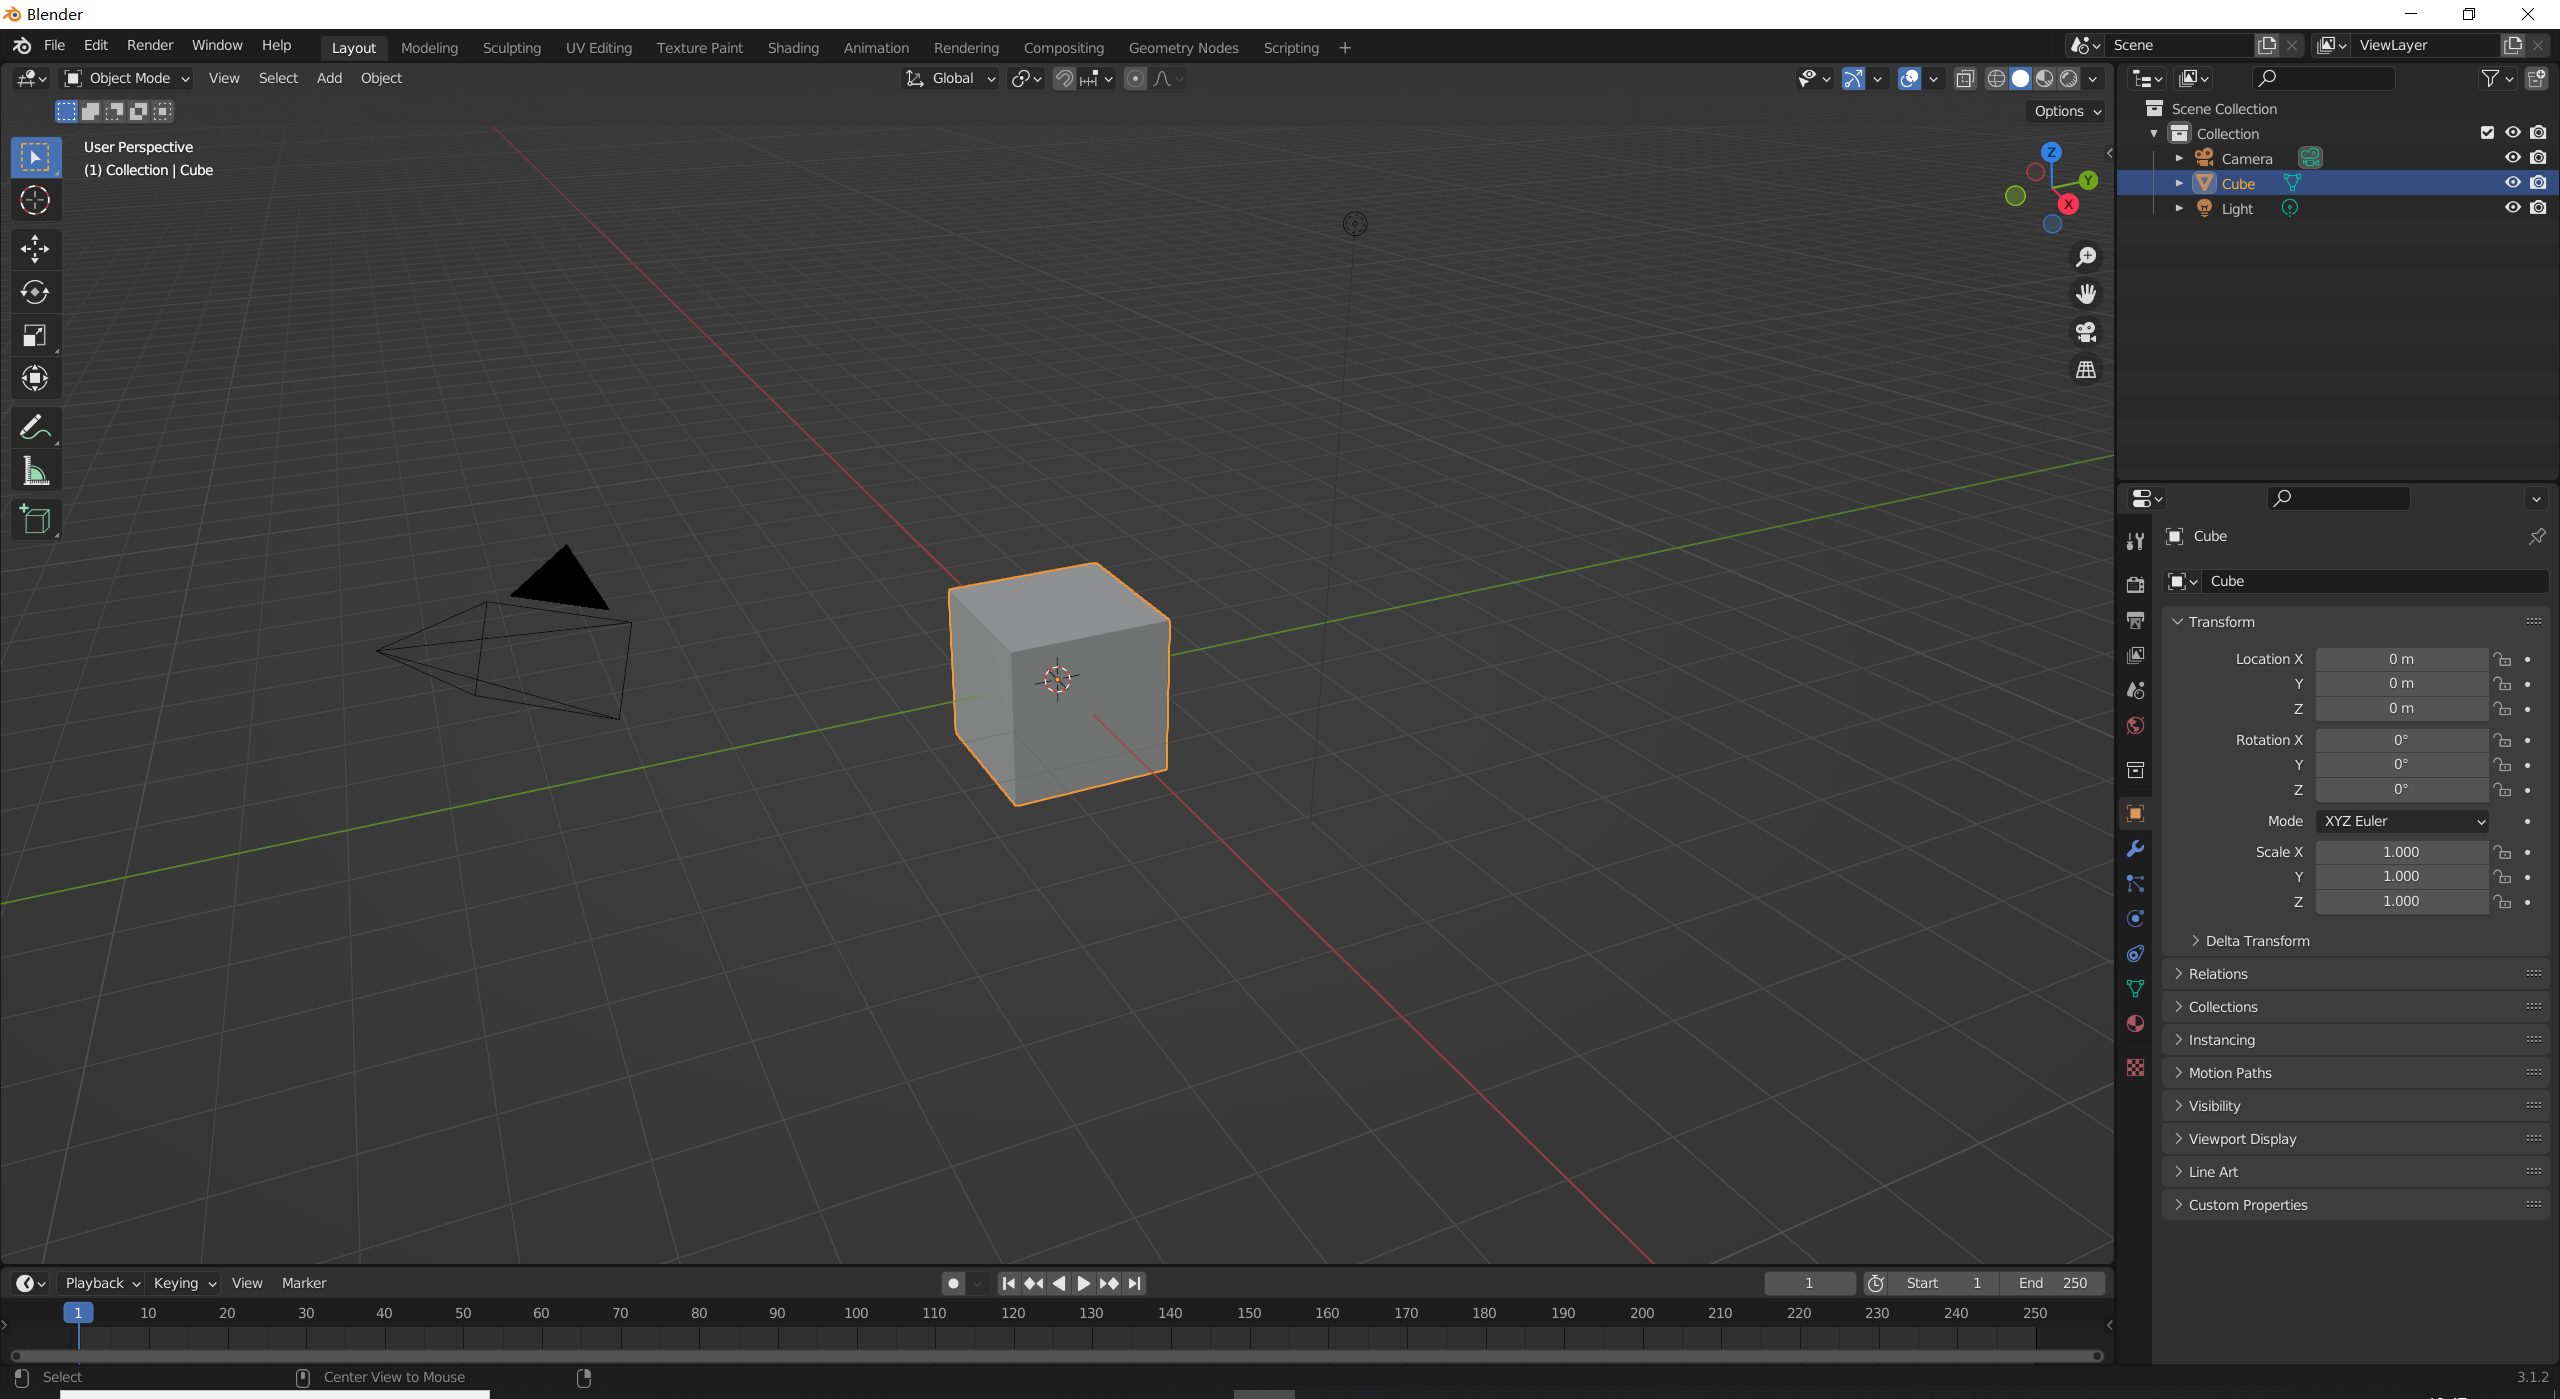
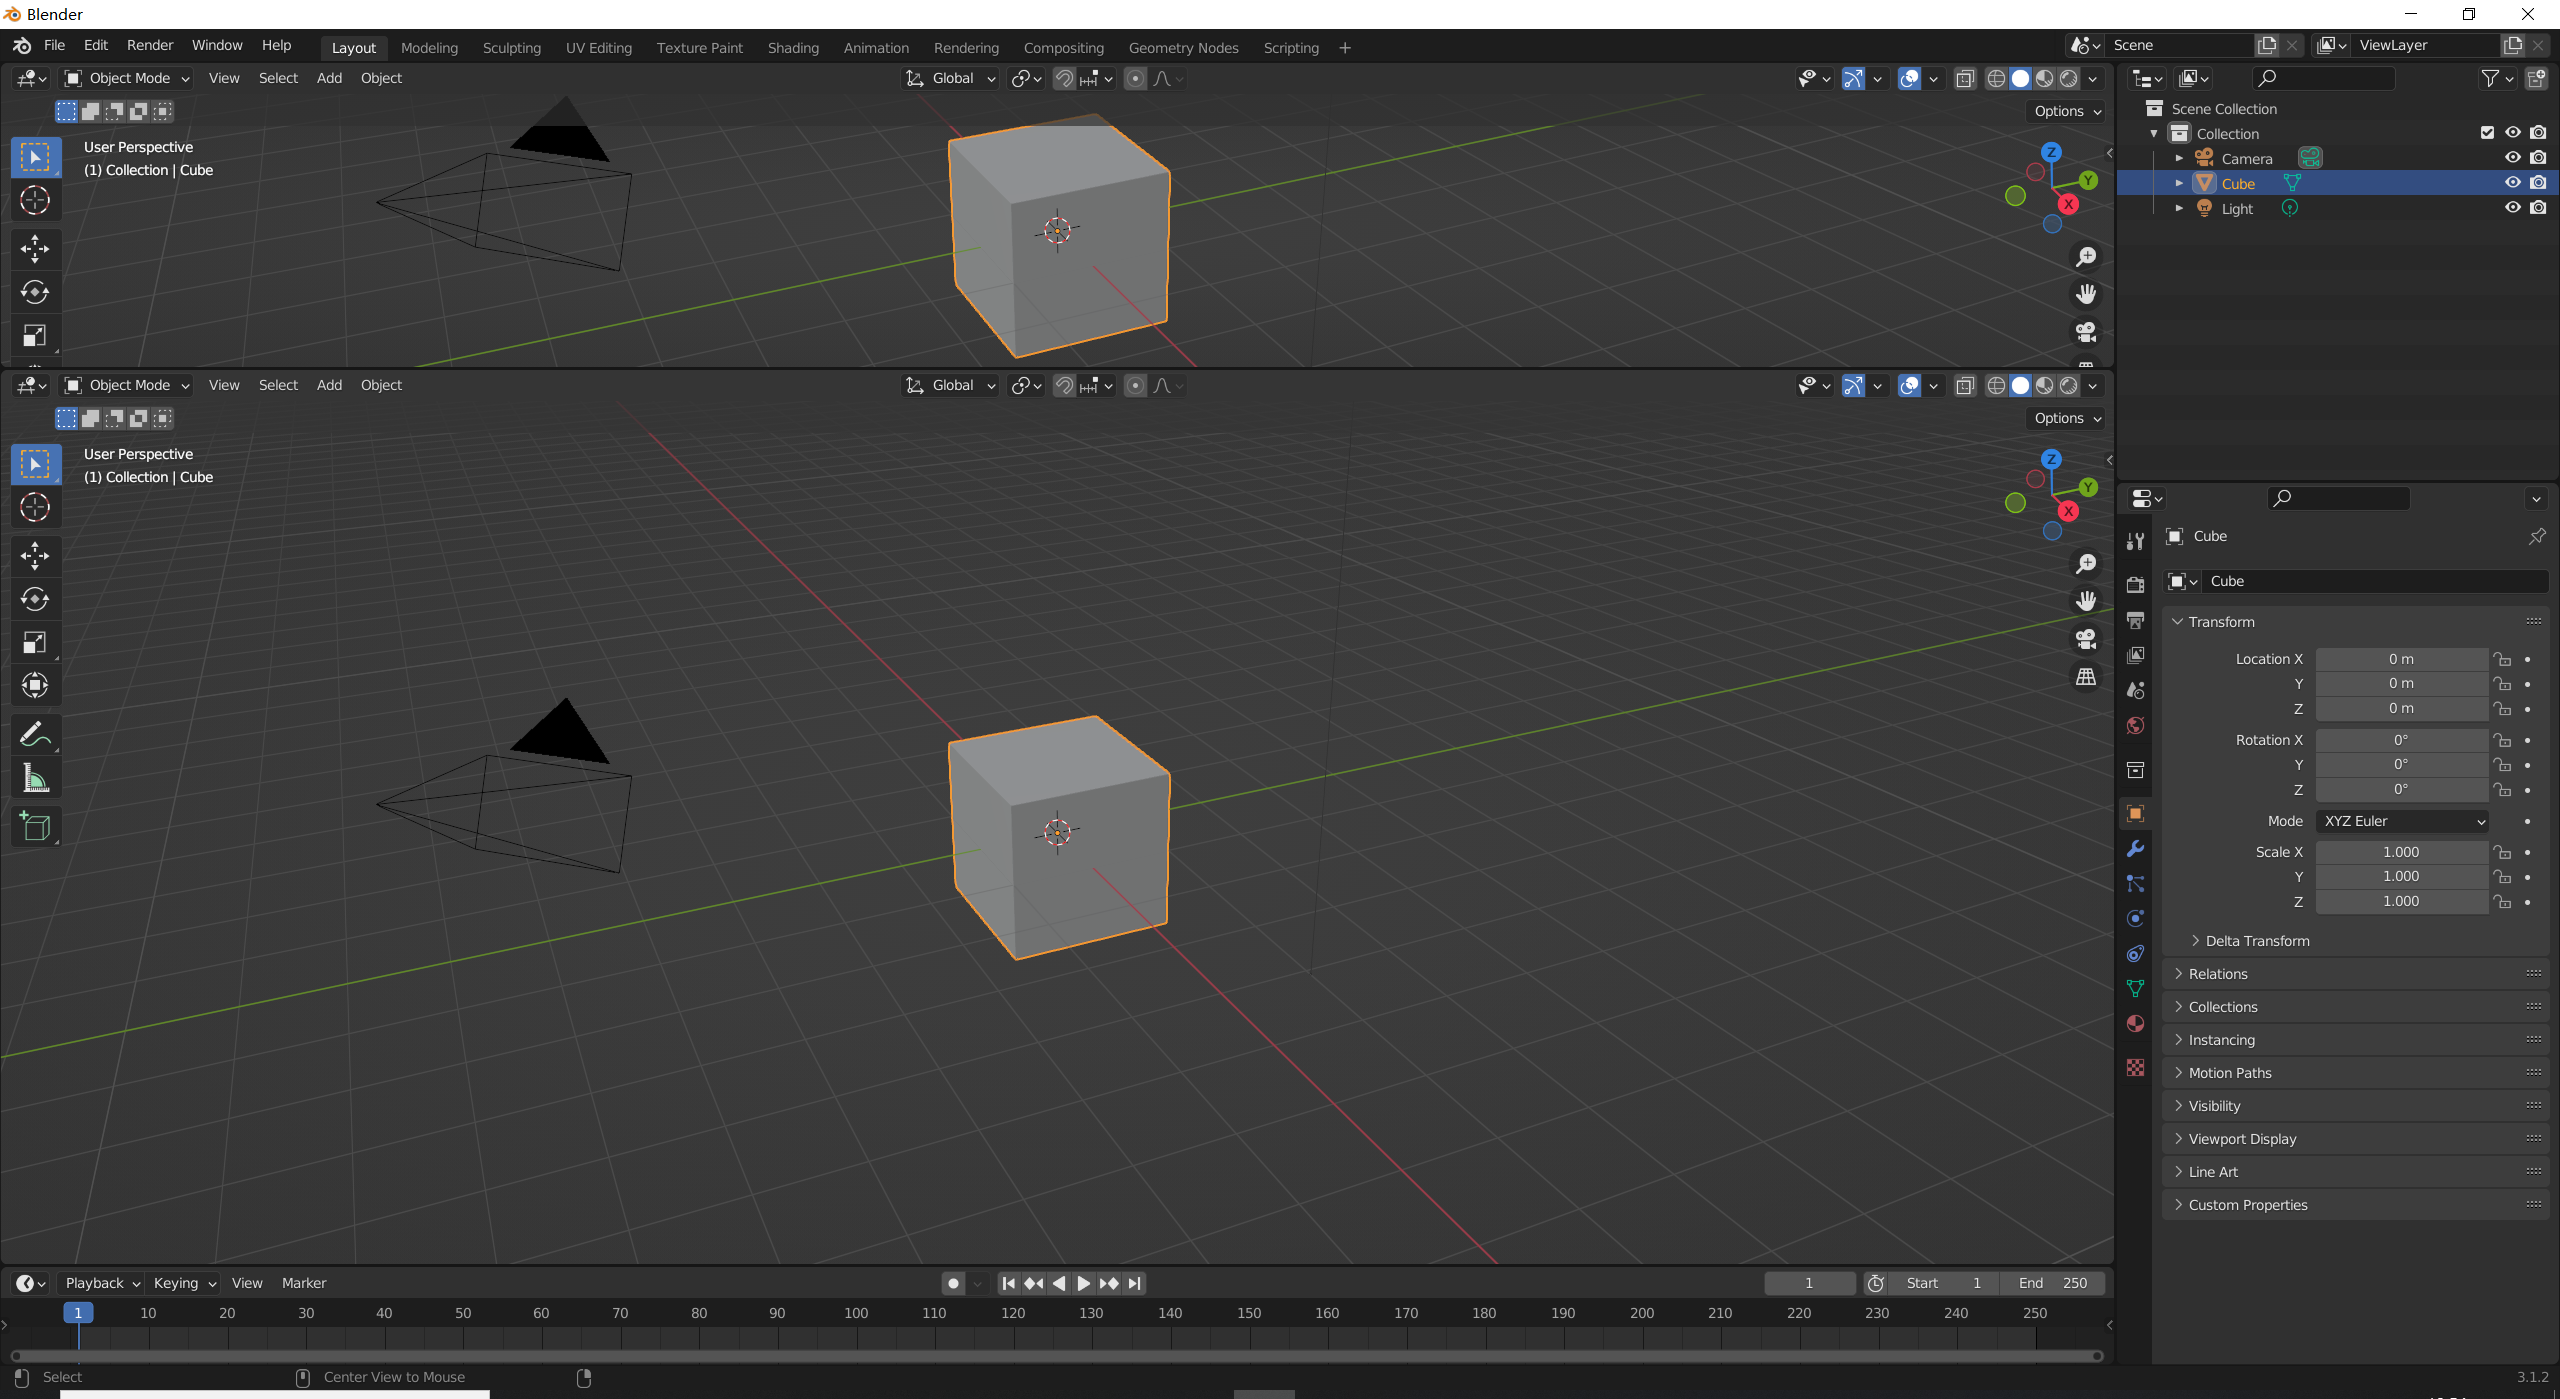
When you open your new blender python, you can find a cube in the origin. And there is only one area for operating. What we are going to do is to create two new areas.
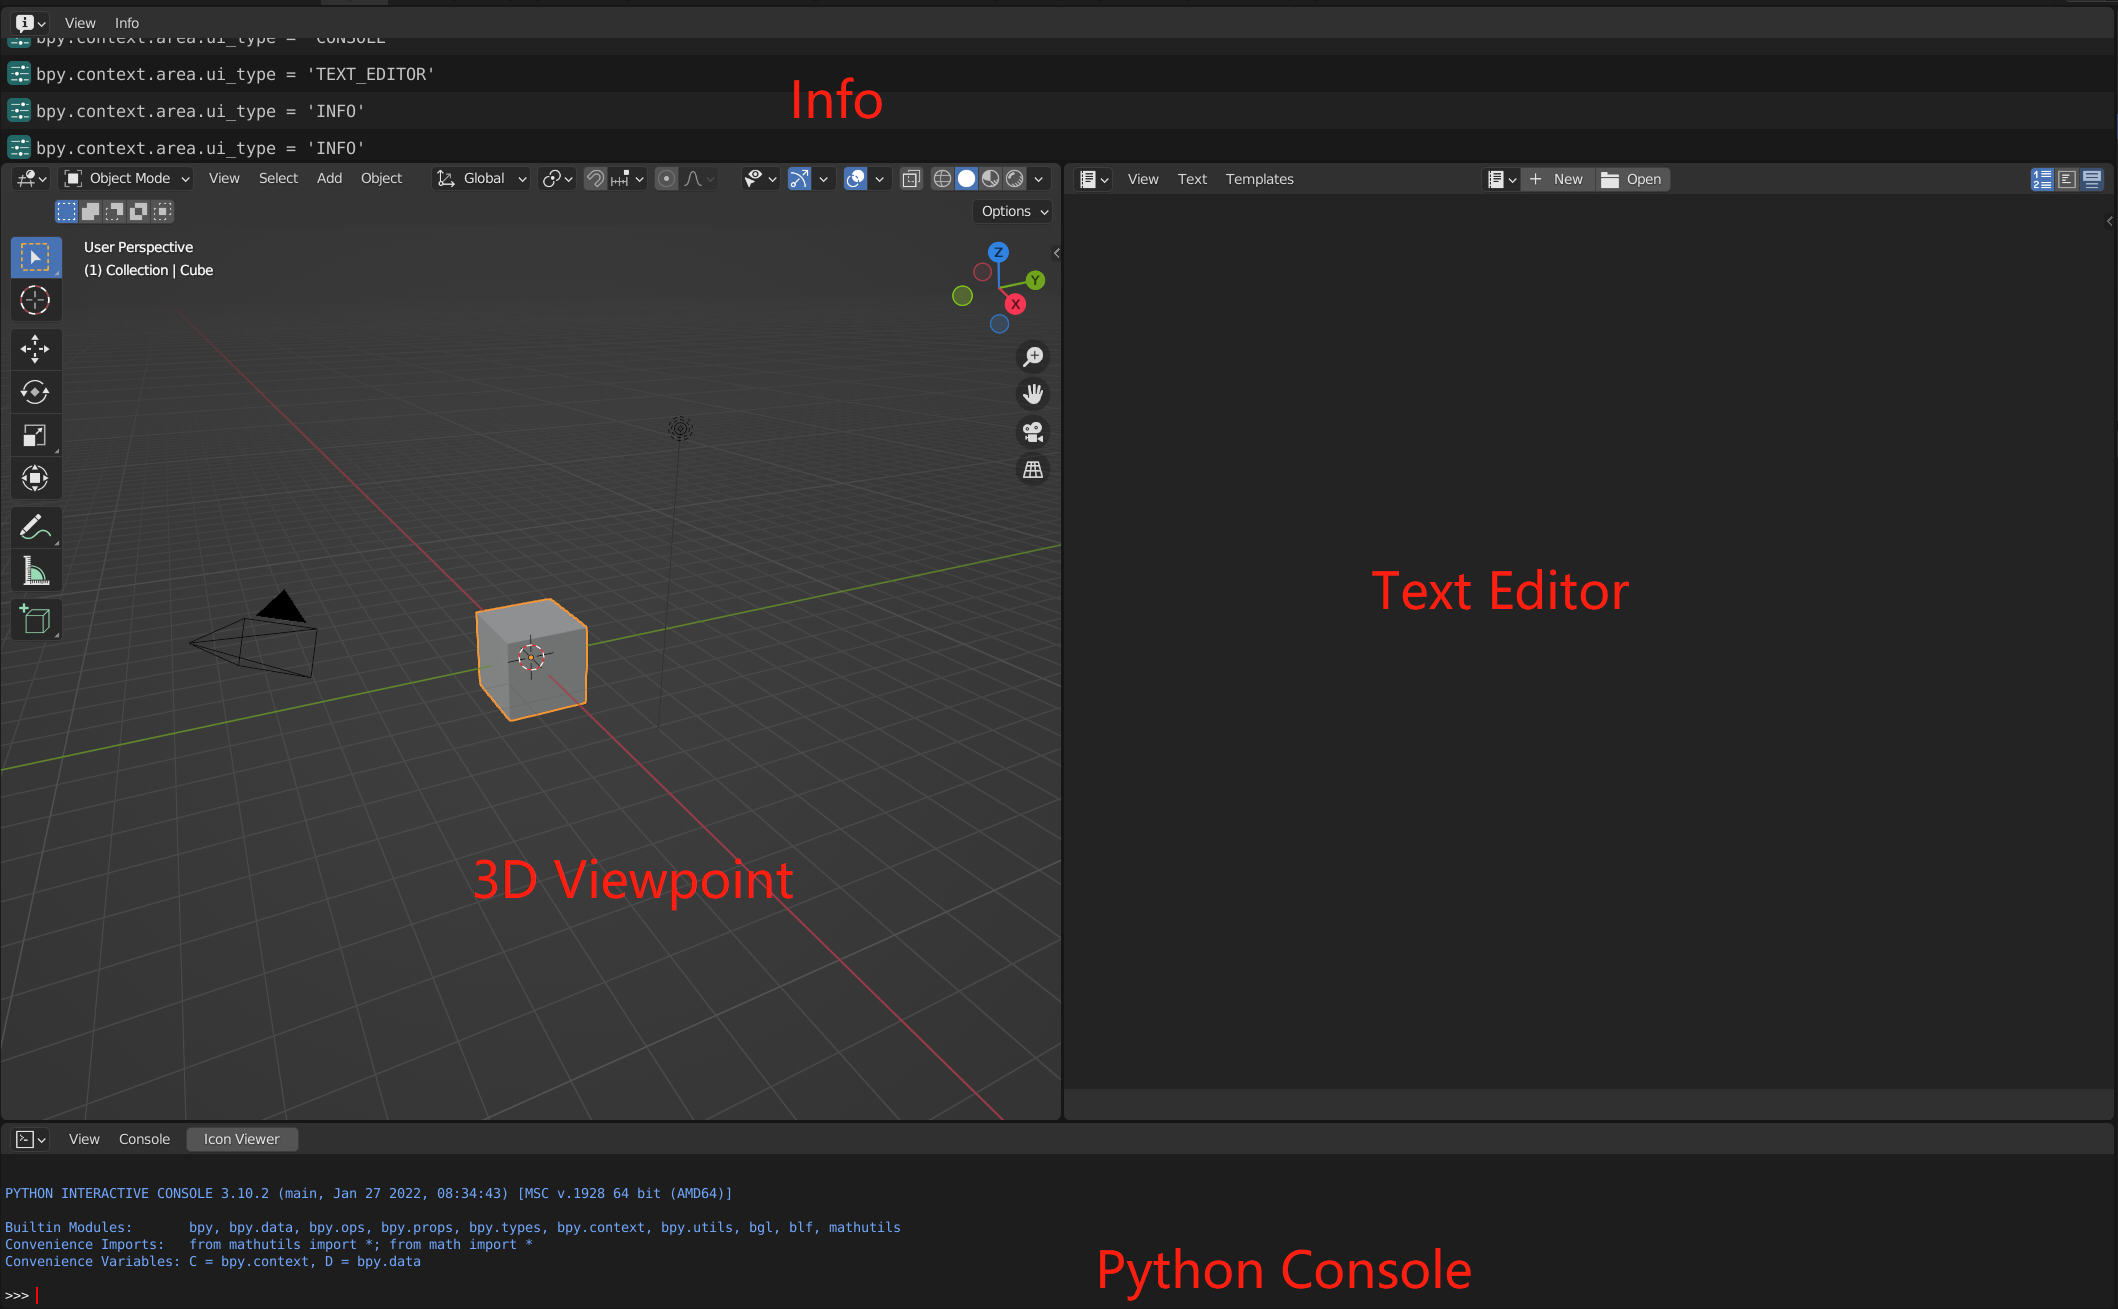
And set the different regions like the figure shown below. It's my personal preferrence, you can set the region as your like.
In order to create mesh for a desirable objects. We need to define the vertices and faces.
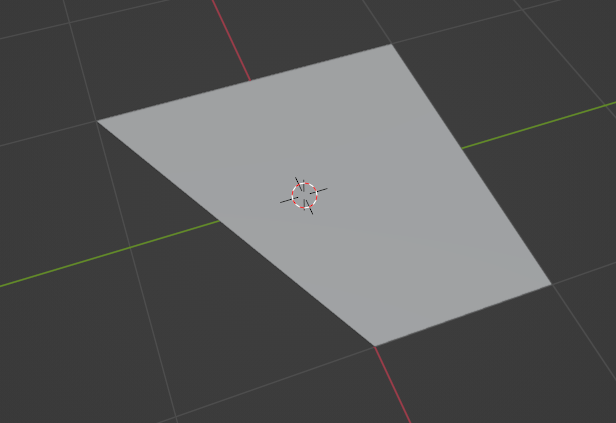
### Mesh a plate Let's create a plate ```python import bpy # Select and delete all the objects bpy.ops.object.select_all(action = 'SELECT') bpy.ops.object.delete() vertices = [(-1, -1, 0), (1, -0, 0), (1, 1, 0), (-1, 1, 0)] # The coordinates of different vertices faces = [(0, 1, 2, 3)] # Only one face, so the shape is a plate. name = 'New Plate' mesh = bpy.data.meshes.new(name) obj = bpy.data.objects.new(name, mesh) bpy.context.scene.collection.objects.link(obj) mesh.from_pydata(vertices,[],faces) mesh.update(calc_edges=True)
A 3D supershape can be parameterized by the Superformula1.
The superformula is a generalization of the superellipse and was proposed by Johan Gielis around 2000. Gielis suggested that the formula can be used to describe many complex shapes and curves that are found in nature. Gielis has filed a patent application related to the synthesis of patterns generated by the superformula.
In polar coordinates, with r the radius and φ the angle, the superformula is,
r(φ)=(∣acos(4mφ)∣n2+∣bsin(4mφ)∣n3)n1
By changing a,b,m,n1,n2,n3, we can get different shapes.
import bpy import numpy as np bpy.ops.object.select_all(action = 'SELECT') bpy.ops.object.delete() # mesh arrays verts = [] faces = [] edges = [] # Initialize 3D supershape parameters m = 17 a = -0.06 b = 6 n1 = 0.5 n2 = -.48 n3 = 1
scale = 3 Unum = 50 Vnum = 50 dU = 2 * np.pi / Unum dV = np.pi / Vnum
Then create the vertices,
1 2 3 4 5 6 7 8 9 10 11 12 13 14 15 16 17
# create vertices theta = -np.pi # Set the initial value for theta for i inrange (0, Unum + 1): phi = -np.pi/2 r1 = 1/(((abs(np.cos(m*theta/4)/a))**n2+(abs(np.sin(m*theta/4)/b))**n3)**n1) for j inrange(0, Vnum + 1): r2 = 1/(((abs(np.cos(m*phi/4)/a))**n2+(abs(np.sin(m*phi/4)/b))**n3)**n1) x = scale * (r1 * np.cos(theta) * r2 * np.cos(phi)) y = scale * (r1 * np.sin(theta) * r2 * np.cos(phi)) z = scale * (r2 * np.sin(phi)) vert = (x,y,z) verts.append(vert) # update phi phi += dV # update theta theta += dU
Create the faces, and make sure the face will not intersect.
1 2 3 4 5 6 7 8 9 10 11 12 13 14
count = 0 for i inrange (0, (Vnum + 1) *(Unum)): if count < Vnum: A = i B = i+1 C = (i+(Vnum+1))+1 D = (i+(Vnum+1)) face = (A,B,C,D) faces.append(face) count = count + 1 else: count = 0
Create mesh.
1 2 3 4 5 6 7 8 9 10 11
#create mesh and object mymesh = bpy.data.meshes.new("supershape") myobject = bpy.data.objects.new("supershape",mymesh) #set mesh location myobject.location = (0, 0, 0) bpy.context.scene.collection.objects.link(myobject) #create mesh from python data mymesh.from_pydata(verts,edges,faces) mymesh.update(calc_edges=True)
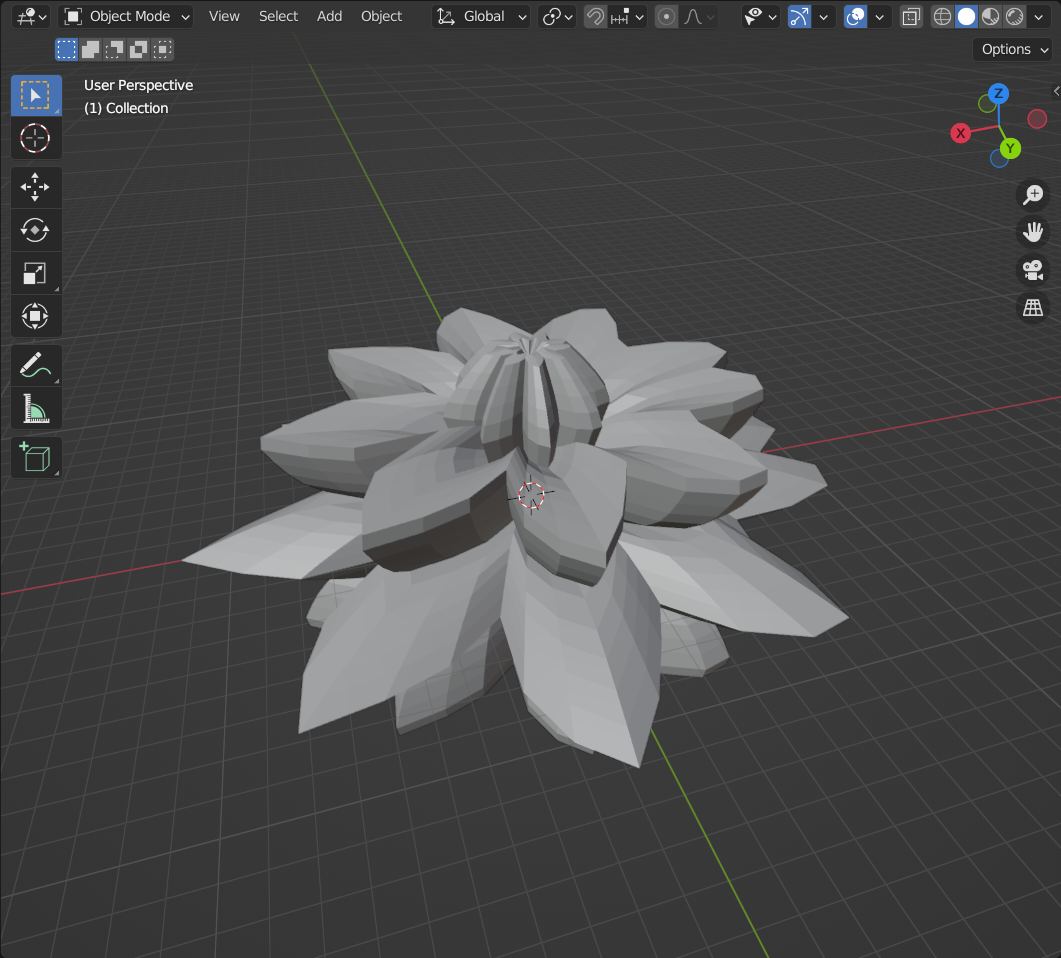
Then we will get a shape like that
We can also make some other operations like smoothing.
1 2 3 4 5 6 7 8 9 10 11 12 13 14 15 16 17 18 19
#set the object to edit mode bpy.context.view_layer.objects.active = myobject bpy.ops.object.mode_set(mode='EDIT') # remove duplicate vertices bpy.ops.mesh.remove_doubles() # recalculate normals bpy.ops.mesh.normals_make_consistent(inside=False) bpy.ops.object.mode_set(mode='OBJECT') # subdivide modifier myobject.modifiers.new("subd", type='SUBSURF') myobject.modifiers['subd'].levels = 3 # show mesh as smooth mypolys = mymesh.polygons for p in mypolys: p.use_smooth = True
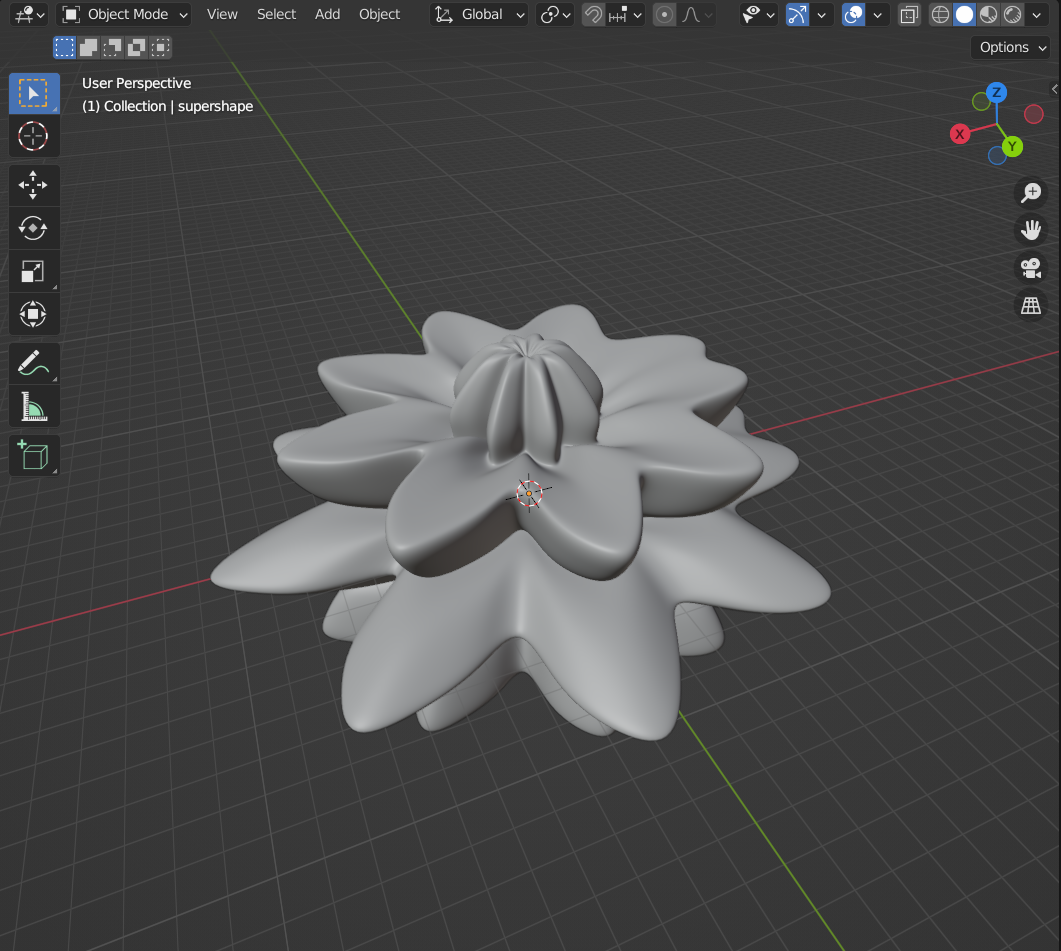
Final shape will be displayed like
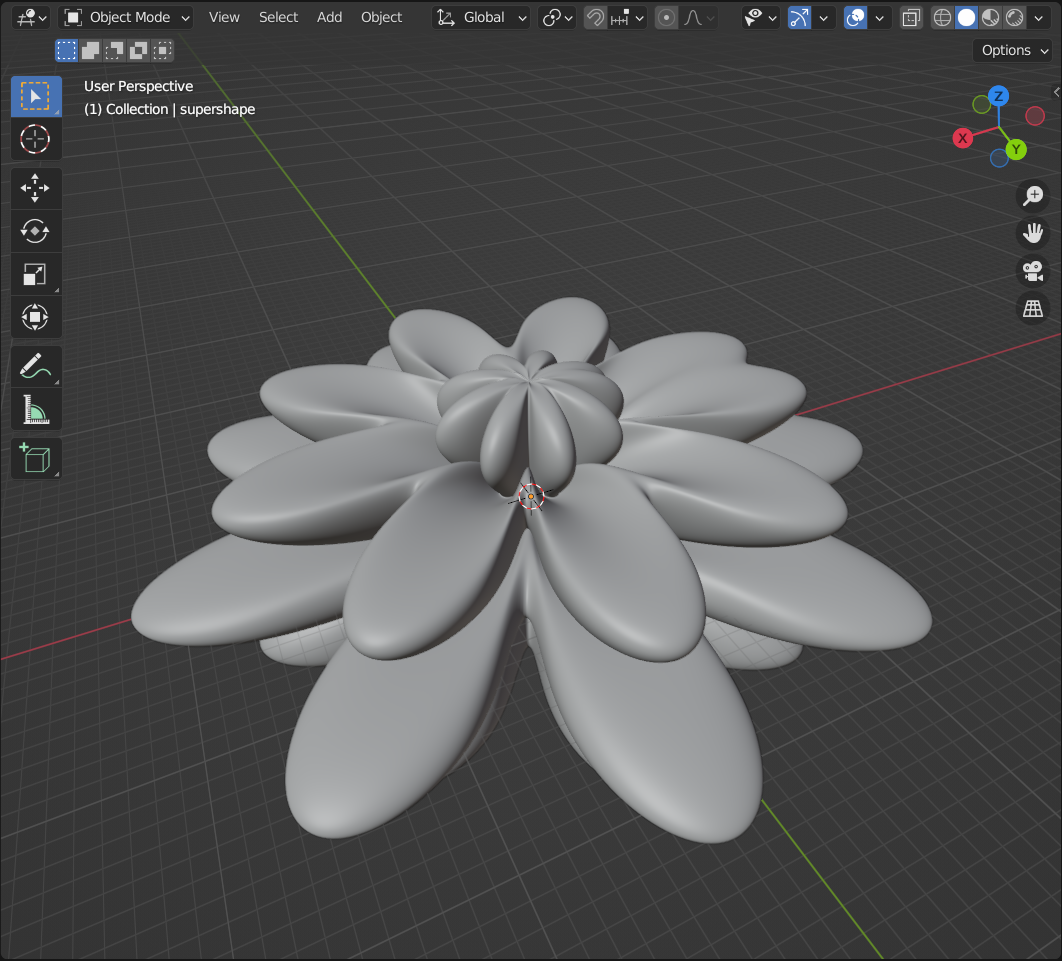
You can also change the parameters to get a different shape as you want,
1
2
3
4
5
6
7
8
9
10
11
m = 17
a = -0.06
b = 6
n1 = 0.6
n2 = -.6
n3 = 2

scale = 3

Unum = 80
Vnum = 80